

Installation
Create a new VoltAgent project with Chroma integration:http://localhost:8000.
Note: For production deployments, you might prefer Chroma Cloud, a fully managed hosted service. See the Environment Setup section below for cloud configuration.
Environment Setup
Create a.env file with your configuration:
Option 1: Local Chroma Server
Option 2: Chroma Cloud
CHROMA_API_KEY.
Run Your Application
Start your VoltAgent application:Interact with Your Agents
Your agents are now running! To interact with them:- Open the Console: Click the
https://console.voltagent.devlink in your terminal output (or copy-paste it into your browser). - Find Your Agents: On the VoltOps LLM Observability Platform page, you should see both agents listed:
- “Assistant with Retriever”
- “Assistant with Tools”
- Open Agent Details: Click on either agent’s name.
- Start Chatting: On the agent detail page, click the chat icon in the bottom right corner to open the chat window.
- Test RAG Capabilities: Try questions like:
- “What is VoltAgent?”
- “Tell me about vector databases”
- “How does TypeScript help with development?”
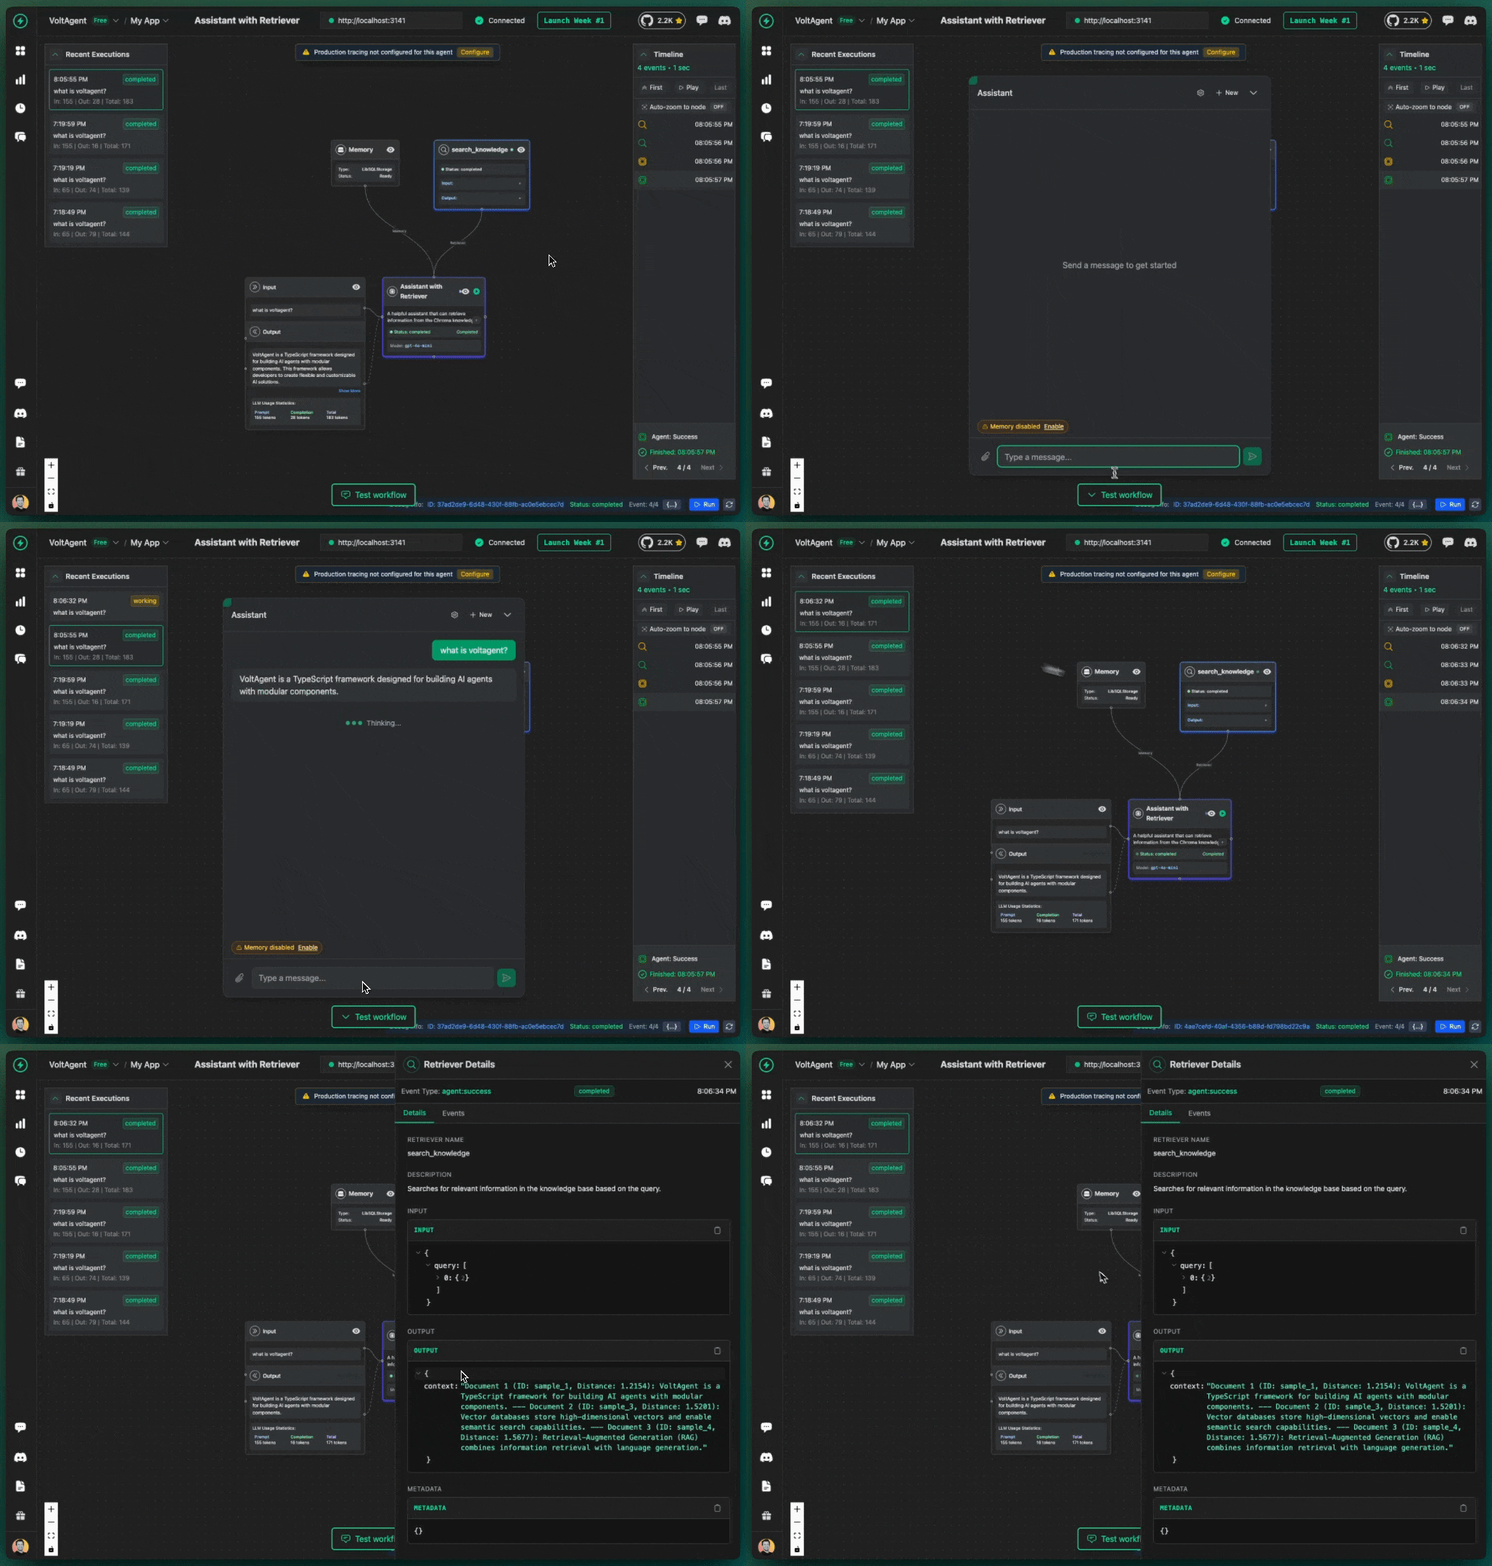 Your AI agents will provide answers containing pertinent details from your Chroma knowledge base, accompanied by citations that reveal which source materials were referenced during response generation.
How It Works
A quick look under the hood and how to customize it.Create the Chroma Retriever
Createsrc/retriever/index.ts:
- ChromaClient/CloudClient: Connects to your local Chroma server or Chroma Cloud
- Automatic Detection: Uses CloudClient if CHROMA_API_KEY is set, otherwise falls back to local ChromaClient
- OpenAIEmbeddingFunction: Uses OpenAI’s embedding models to convert text into vectors
- Collection: A named container for your documents and their embeddings
Initialize Sample Data
Add sample documents to get started:- Establishes a collection using OpenAI’s embedding functionality
- Adds sample documents with metadata
- Uses
upsertto avoid duplicate documents - Automatically generates embeddings for each document
Implement the Retriever Class
Create the main retriever class:- Input Handling: Supports both string and message array inputs
- Semantic Search: Uses Chroma’s vector similarity search
- User Context: Tracks references for transparency
- Error Handling: Graceful fallbacks for search failures
Create Your Agents
Now create agents using different retrieval patterns insrc/index.ts:
Usage Patterns
Automatic Retrieval
The first agent automatically searches before every response:Tool-Based Retrieval
The second agent only searches when it determines it’s necessary:Accessing Sources in Your Code
You can access the sources that were used in the retrieval from the response:streamText: